Don't these look deadly? A friend introduced me to the videos of Nadiya Hussain, and this is my gluten-free take on her Money Can't Buy You Happiness Brownies
The recipe I found originally didn't include the volume measurements, so I did it all by weight. Since it is a good idea to weigh gluten-free flour, this wasn't too big a deal for me.
One of the ingredients was dulce de leche, something I've never used before, and wasn't sure I'd be able to find it in a regular grocery store. I'm always up for a challenge, and found a recipe to make my own from scratch (using milk and sugar) here. I have to say that it took a bit longer than the recipe claims. I'm sure that varies with different stoves, kind of like baking times vary with different ovens. Mine isn't as dark as the recipe picture, but it is just as thick!

- 250g butter, at room temperature
- 250g dark chocolate (I used 3, 85 g Zazubean Nakid chocolate bars)
- 4 large eggs, at room temperature
- 280g dark brown sugar
- 100g gluten-free oat flour
- 30g cocoa powder
- 1 tsp oat flour
- 150g chocolate chips
- 450g of dulce de leche (This looked like almost 2 cups worth, and that's what I used.)
- 200g of chopped, roasted hazelnuts
- 1/2 tsp salt
- 300g full-fat soft cream cheese, at room temperature
- 100g fine sugar
- 2 large eggs, at room temperature
- 1 tsp vanilla
- 1 tbsp gluten-free oat flour
- Melt the dark chocolate and butter together in a bowl set over a pot of simmering water (double boiler). Set aside to cool.
- Preheat the oven to 350F.
- Line the base and sides of a 9 x 13" cake pan with parchment paper.
- Put the eggs and sugar in a mixer and, using the whipping attachment, mix at a fairly high speed until the mixture is light, thick and fluffy - about 5 minutes.
- Pour in the cooled melted chocolate and butter and mix at a medium speed until the mixture no longer has any streaks in it.
- Then add the sifted flour and cocoa, and mix until you have a glossy batter.
- Mix the teaspoon of flour with the chocolate chips in a bowl before stirring them into the batter until they’re well dispersed. Nadiya says this trick will stop them sinking to the bottom when you bake the brownies.
- Pour the mixture into the prepared cake pan and spread evenly. Bake for 25 minutes.
- Put the dulce de leche in a bowl along with the toasted nuts and the salt - mix well and set aside.
- When the brownies are baked, take them out of the oven and leave to cool completely in the cake pan on a wire rack.
- When they have cooled, spread the sticky nut mixture over the top and put the it in the freezer for 30 minutes.
- Change the oven temperature to 325F
- Make the cheesecake top by mixing the cream cheese, sugar, egg, vanilla extract, and flour until well blended.
- Spread this in an even layer over the nut mixture and bake for 30 minutes.
- When the cheesecake is set in the centre, cool on a wire rack, then put in the fridge overnight to chill.
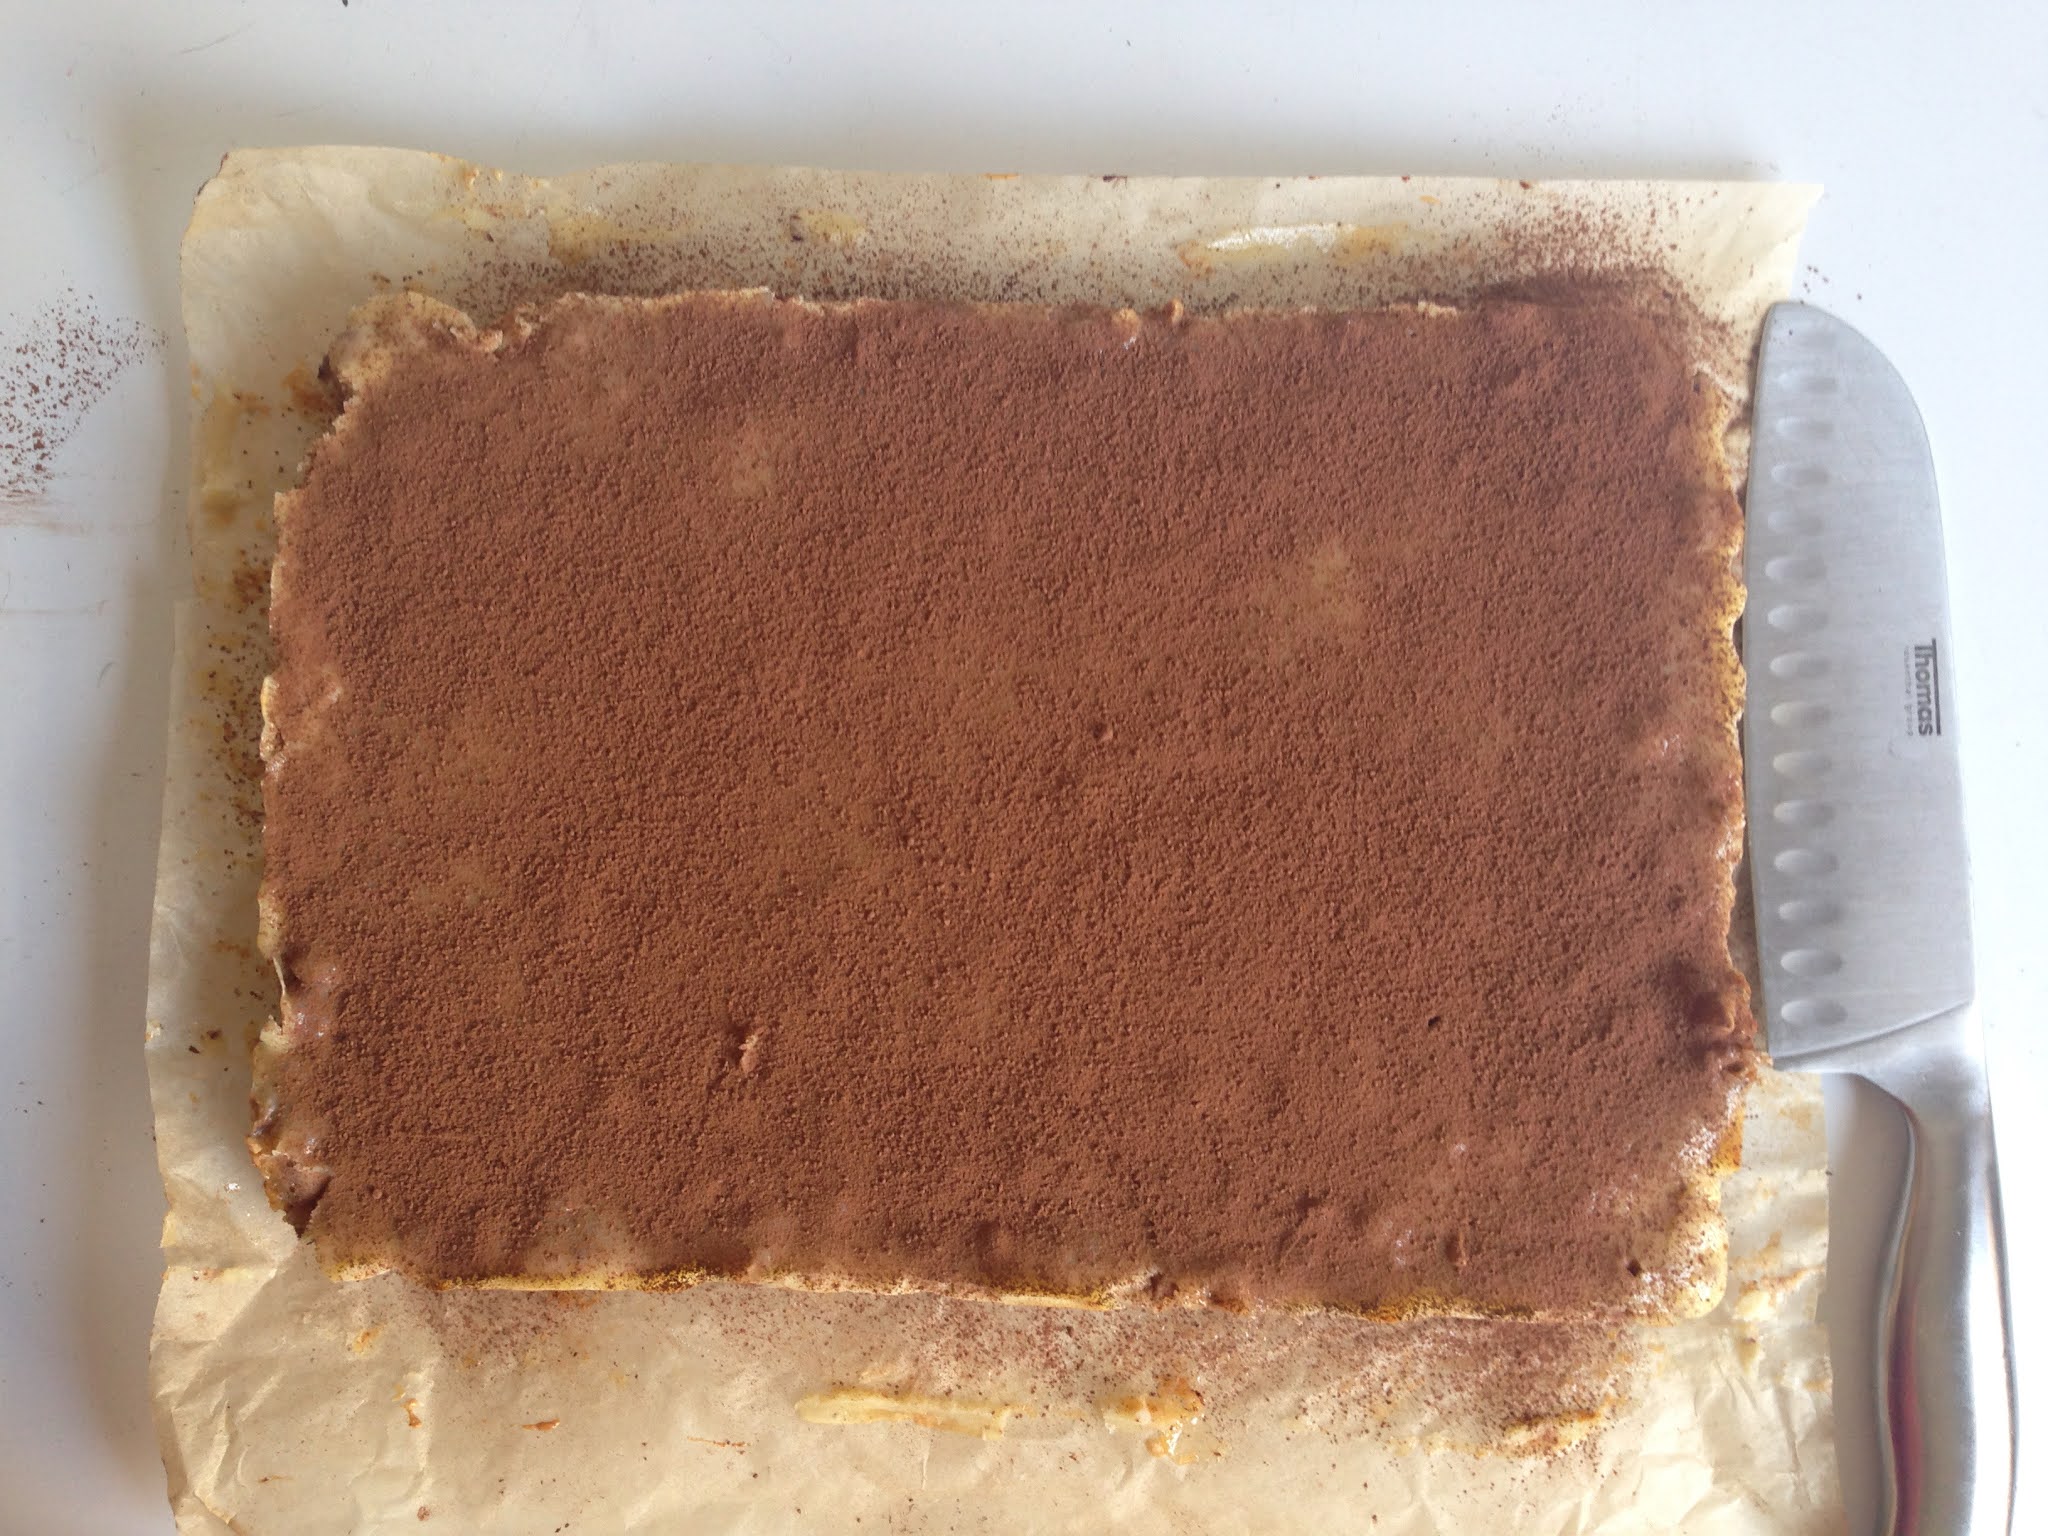
- Dust with the cocoa, take out of the pan and cut into squares.
- Keep in the fridge for 3–4 days, or store in an airtight container in the freezer.